Ceilings are often brushed off as irrelevant, however they can bring new life to a room. That being said, the project itself is fairly simple!
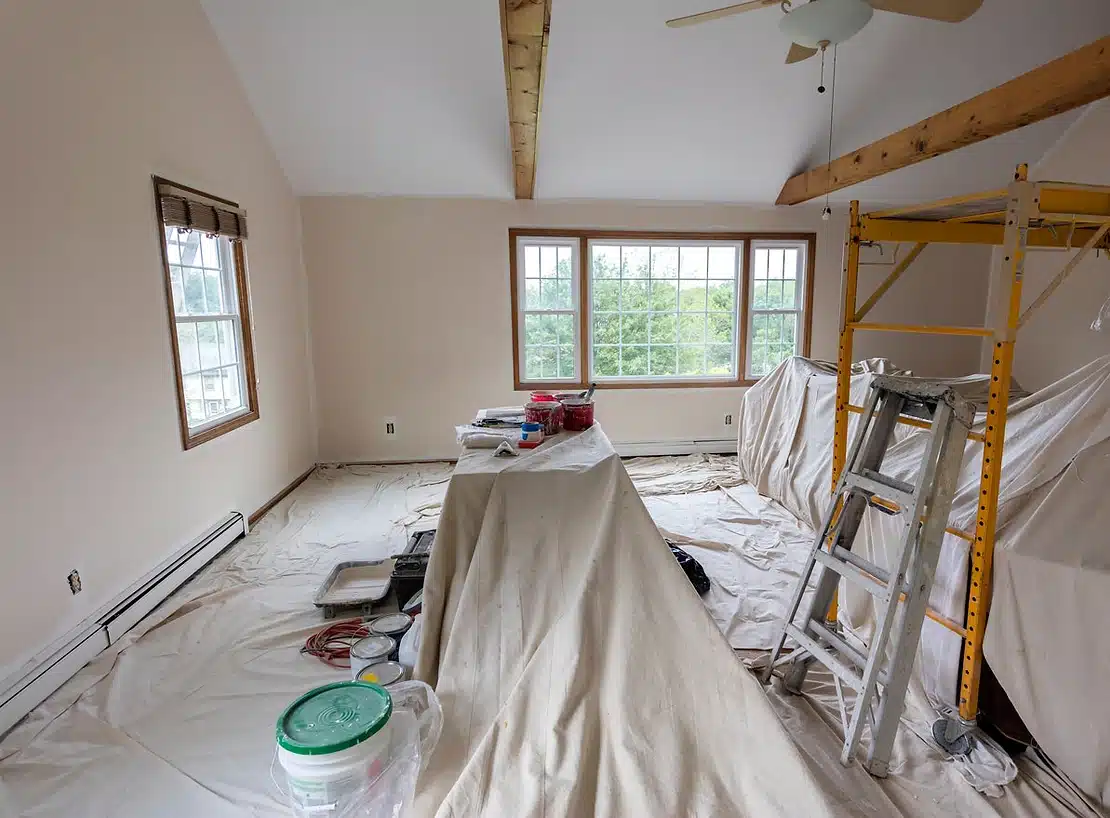
Preparing the space
- Remove or cover all furniture, if possible, to avoid spatter or damage.
- The same goes for ceiling fixtures.
- Clean any dust or grime from the surface, as paint adheres poorly to these things.
- Repair any holes with spackle or caulk.
- Drop cloths are your friend!
Prime & cut
- After taping the along the tops of the walls, use a roller to prime the ceiling with a coat of latex paint primer, especially if your ceiling has stains.
- Use an interior latex drywall primer on a smooth or lightly textured ceiling and a high-build primer on a ceiling with a deeper texture.
- Allow the primer to dry completely.
Break out the roller!
- Work within grid-like sections. This helps keep edges wet and shows your progress, ensuring an even coat.
- For smooth ceilings, use a low nap roller. For a textured ceiling, use a roller with 1/2-inch or 3/4-inch nap.
- Regularly use the paint tray to load the roller with ceiling paint and roll slowly.
- Begin rolling when the paint cut line is still wet.
- Begin in a corner and roll in overlapping rows.
- Do not roll directly over your head.
- Slightly vary the direction of your rolling, as a perfectly straight roll may show overlap marks. Continue until the section is done.
- Continue applying paint, rolling out and blending with the cut-in edge and the previous section until the ceiling is complete.
Tip: Immediately wipe drips with a damp rag.

Add a second coat if needed and begin cleaning up!
- If you opted to paint your ceiling a brighter color or shade of white that needs to stand out, a second coat may be needed.
- Allow paint to fully dry according to instructions before applying a second coat.
- Apply the second coat in one direction, painting quickly until the entire surface is covered.
- Once all coats have been applied, begin cleaning up the room.
- Carry your paint rollers, brushes, paint trays and other supplies to a garage sink or large tub for washing. Clean with warm soap and water, squeezing out the paint remnants, and then use water to rinse out the soap. Set out to air dry.
- Remove any painter’s tape when the paint is dry to the touch.
- Reattach ceiling light fixtures.
Key tips to remember…
- Always use ceiling paint as opposed to wall paint.
- Keep your goal in mind when considering the color options. Standard white ceiling paint will brighten a room, but a colored ceiling may make the room seem bigger.
- Mildew and water stains will bleed through even the best paint, so it may be necessary to use a stain-blocking primer before painting. Oil-based primers work best for water stains while shellac-based primers are more effective against smoke or nicotine stains.
- Invest in a paint roller extension pole. This will alleviate much of the strain and awkwardness from reaching above your head to paint, and will help you reach higher spots and angles more easily.
- Use a sturdy step ladder as needed.

The ceiling is considered the “fifth wall” of your room, so when painting a ceiling, apply the same care you would bring to any other paint job. It matters more than you’d think. Got questions? Talk to the experts at Mill Creek Painters.